
Last updated November 5, 2026
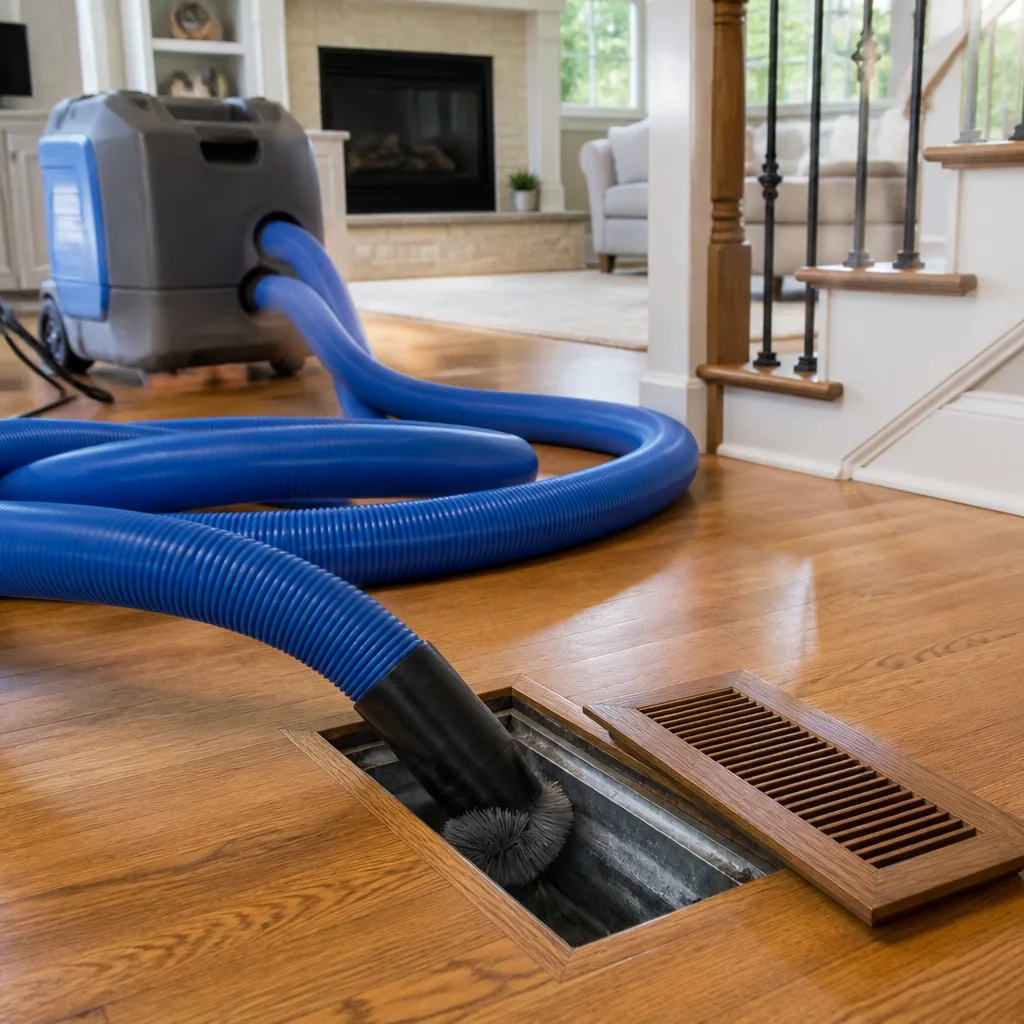 Whole-home duct cleaning
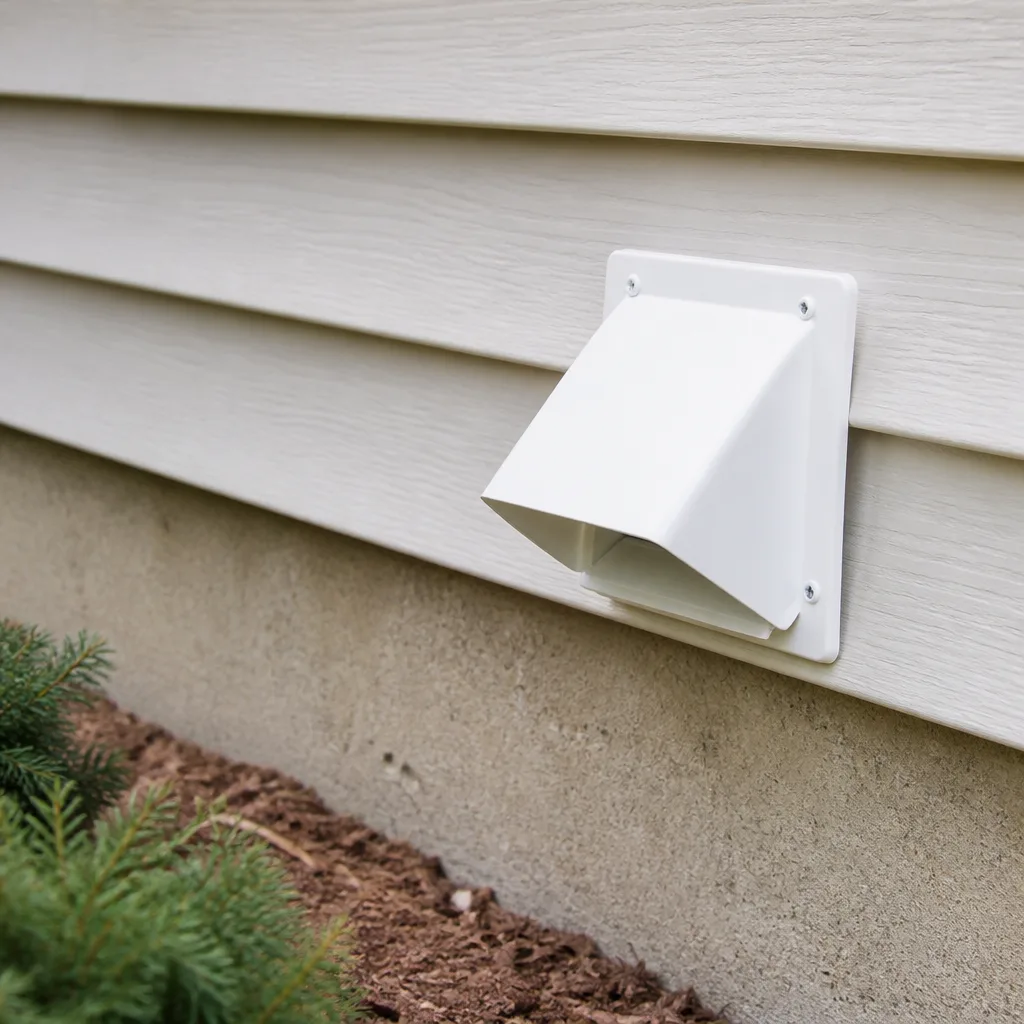 Dryer vent cleaning
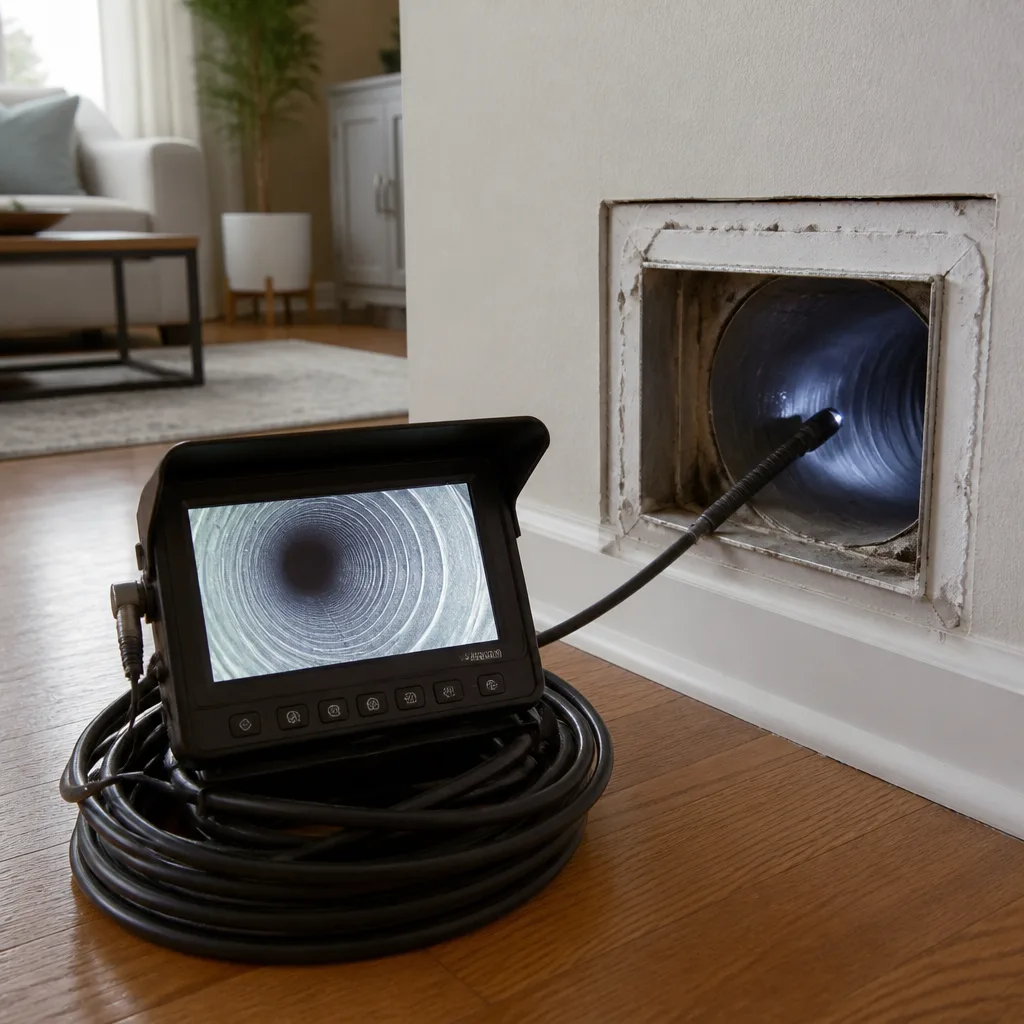 Camera inspection
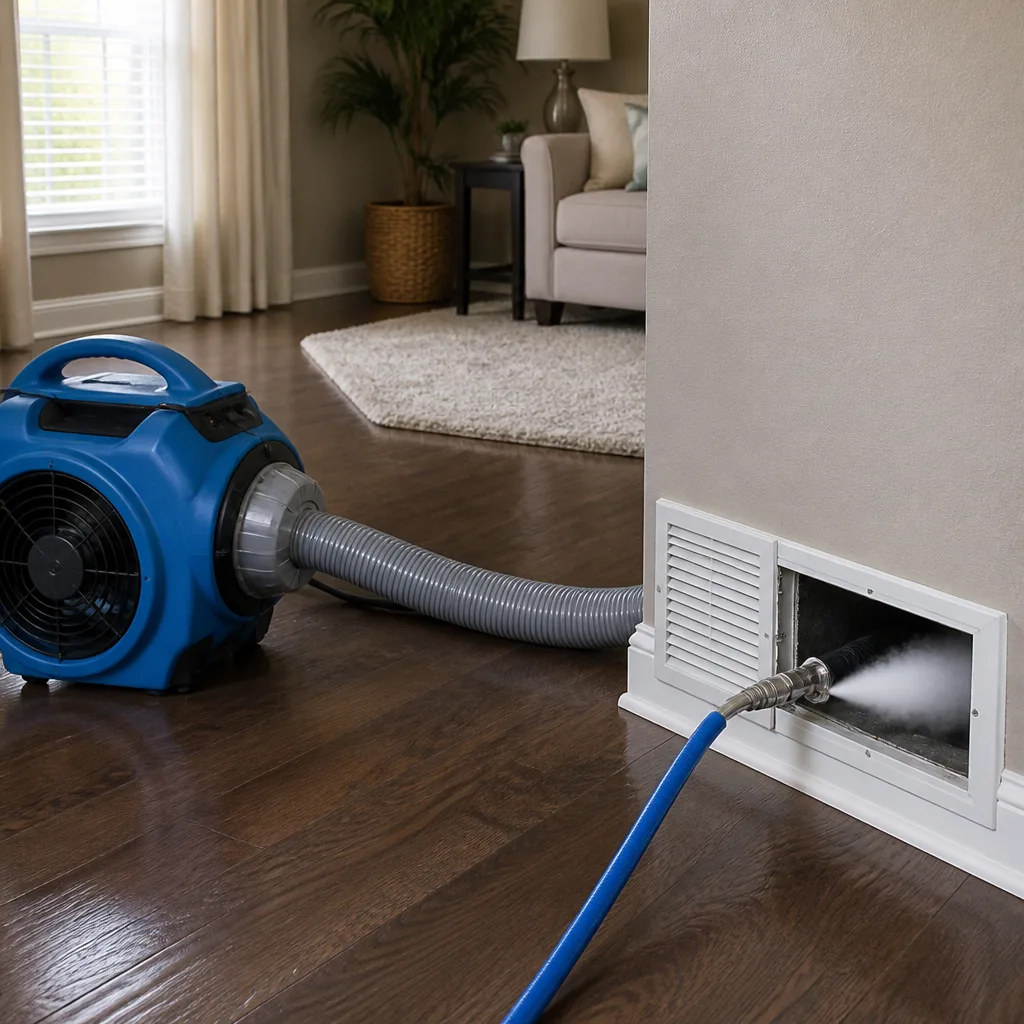 Sanitizing & deodorizing
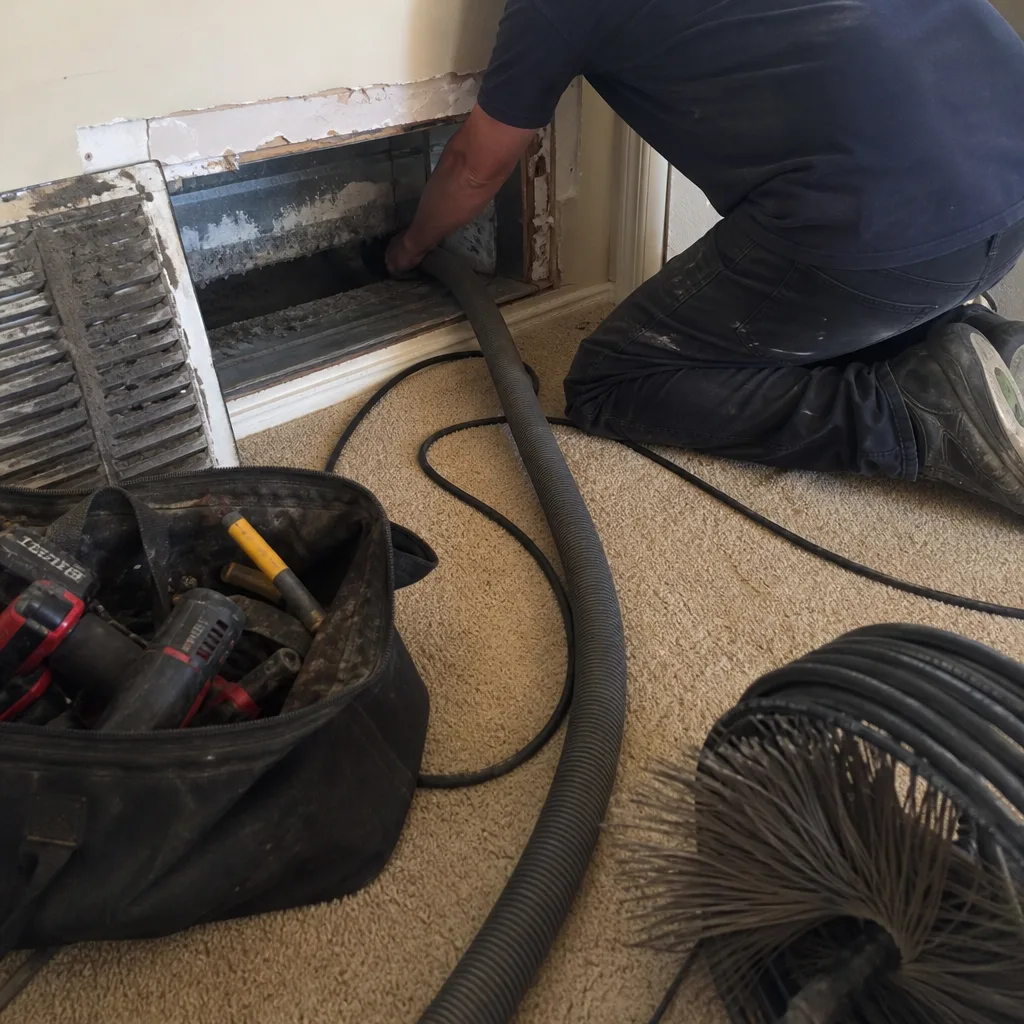
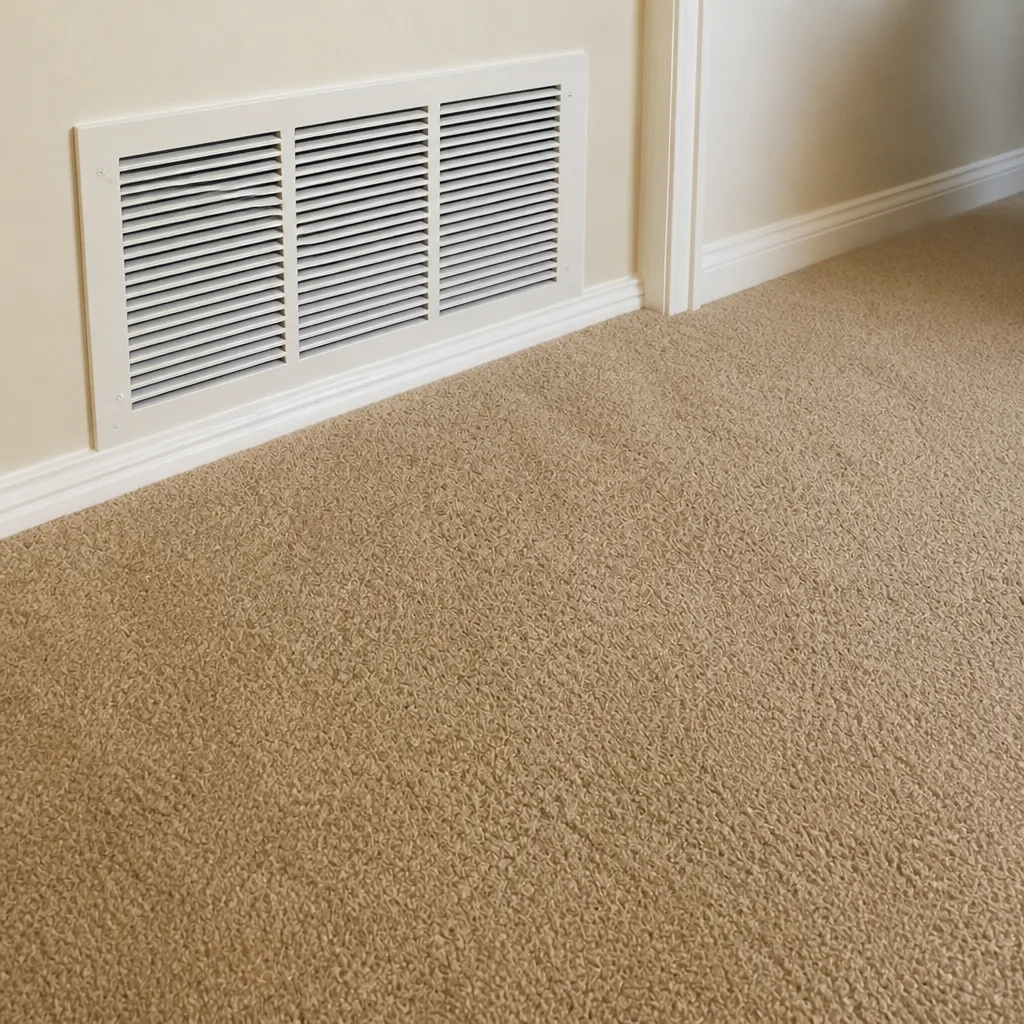
Whole-system duct and dryer vent check with before-and-after photos - you see exactly what came out of your vents
That "$99 whole-house special" is a bait ad - the real number appears once they are in your hallway, or the "clean" is a shop-vac at the register. We photograph the inside of your ducts before and after instead.
Air Duct Cleaning Troubleshooting in Laguna Niguel: Common Problems and How to Fix Them
If your ducts were cleaned six months ago and you’re still wiping dust off the registers every week, the cleaning didn’t fail – something upstream did. Most homeowners in Laguna Niguel treat every duct symptom the same way: schedule another cleaning, hope it sticks, repeat. But weak airflow, persistent odors, and dust that reappears within days are usually mechanical failures disguised as “dirty ducts.” This guide teaches you how to read those symptoms, figure out what’s actually broken, and know when the fix requires more than another pass with a vacuum.
Quick Answer
Most recurring air duct problems in Laguna Niguel fall into three categories: damaged ductwork (collapsed flex runs, disconnected joints, torn liners), airflow restrictions from design flaws or crushed sections, and moisture-driven microbial growth. Cleaning only solves the first category – accumulated debris. Everything else requires diagnosis and often duct repair. The tell is simple: if symptoms return within weeks of a professional air duct cleaning, you’re dealing with a mechanical or moisture problem, not a cleanliness problem.
Styles & brands we work with
- Whole-home duct cleaning
- Dryer vent cleaning
- Camera inspection
- Sanitizing & deodorizing
Table of Contents
- Dirty Duct or Damaged Duct: How to Tell the Difference
- Why Musty Odors Persist After Cleaning
- Weak Airflow: What’s Actually Restricting Your System
- Dust Returns Days After Cleaning: The Mechanical Causes
- Signs a Previous Cleaning Used Inadequate Equipment
- How to Inspect Exposed Ductwork: A Durability Check
- What Professional Duct Repair Actually Involves
- Common Mistakes to Avoid
- When to Call a Professional
- Frequently Asked Questions
Dirty Duct or Damaged Duct: How to Tell the Difference
This is the diagnostic fork in the road. A dirty duct has accumulated debris – dust, pet hair, construction particles – on its interior surfaces. Cleaning fixes that. A damaged duct has a structural problem: a collapsed flex run, a joint that’s pulled apart, a torn inner liner, or a crushed section. Cleaning won’t fix any of those, and no amount of repeat cleaning will either.
Here’s what helps you distinguish the two before anyone shows up with equipment:
- Symptom: dust on every register, roughly evenly. Likely just accumulated debris. A cleaning is the right call.
- Symptom: one specific room is always dustier, always stuffier, or always warmer than the rest of the house. That points to a damaged or disconnected branch run serving that room, not general dirtiness. Debris collects everywhere; airflow failure is local.
- Symptom: you hear rattling, flapping, or a rhythmic thumping when the blower runs. That’s often a torn liner or a loose section of flex duct moving with air pressure. Debris doesn’t flap.
- Symptom: airflow from one register is dramatically weaker than its neighbors. Think collapsed flex, a crushed section under the house, or a duct that’s pulled off the boot entirely. Dirt restricts flow gradually; damage restricts it suddenly or severely.
Many homes in Laguna Niguel are early-2000s construction, and the flex ductwork installed during that building boom is now 20-plus years old. Flex duct has a plastic inner liner wrapped in insulation and an outer vapor barrier. When the liner tears, conditioned air leaks into the insulation cavity and the duct loses pressure. When the outer jacket fails, unconditioned attic air gets pulled into the supply stream. Both problems masquerade as “the ducts need cleaning” because they produce dust, uneven temperatures, and higher energy use. We’ve walked into homes where a previous company had cleaned twice in eighteen months, and the real culprit was a supply run that had separated at a wye fitting in the attic.
Why Musty Odors Persist After Cleaning
Musty odors that survive a professional cleaning almost always mean moisture, not debris. Here’s the logic: a cleaning removes the organic material that mold and bacteria feed on. If the smell returns within weeks, the moisture source is still there, and whatever you removed has regrown or been replaced.
The standing-moisture sources we find most often in Laguna Niguel attics and crawl spaces include:
- Condensate drainage problems. The evaporator coil produces water. If the drain pan is cracked, the drain line is clogged, or the line is pitched wrong, water sits. That standing water becomes a microbial reservoir right next to the supply plenum.
- Duct sweating in unconditioned space. Uninsulated or under-insulated ducts in a hot attic sweat in summer. The moisture soaks into insulation and framing, then odors carry into the living space.
- Disconnected return pulling from a damp crawl space. If a return leak opens into a crawl space or wall cavity, it pulls humid air into the system continuously. The ducts never dry out.
- Past water intrusion that was never properly dried. A one-time leak – a roof repair, a plumbing issue – can soak duct insulation. Even after the leak is fixed, wet insulation keeps producing odor.
A one-time debris odor (think: pet hair, years of candle soot, construction dust) clears with a proper cleaning. A recurring musty odor is a moisture diagnosis. The fix is not another cleaning pass – it’s finding and eliminating the water source, replacing any water-damaged duct sections or insulation, and then cleaning the remaining system to remove residual contamination. We do the cleaning and the repair, which matters here: you need one company that can address both halves of the problem in the same visit rather than cleaning around it.
Weak Airflow: What’s Actually Restricting Your System
Weak airflow has mechanical causes. You can often narrow down which one by paying attention to where the weakness shows up and how it behaves. Here’s how to troubleshoot it, room by room.
- Check every register and note the weak ones. If one room is weak and the rest are fine, you’re looking at a branch-line problem: crushed flex, a disconnected run, a damper that’s closed or failed, or a kinked section. That’s a localized duct issue.
- If the whole house is weak, check the filter first. A badly clogged filter is the most common whole-house airflow killer. Change it, or if you use a high-MERV filter, try a lower restriction rating temporarily to see if flow improves. Deep-pleated 4-inch filters offer better flow than 1-inch high-MERV filters.
- If filter replacement doesn’t help, suspect the return side. Undersized returns are common in some Laguna Niguel homes, particularly ranches and two-story plans where a single central return was installed for the entire floor. When the return can’t bring air back fast enough, supply flow drops across every room. The fix is adding return capacity or enlarging the existing return, not cleaning the supply runs.
- Look for crushed sections in accessible areas. In attics and crawl spaces, flex duct gets walked on, stacked under storage, or pinched by framing. A 6-inch round duct crushed to 2 inches in one spot acts like a closed valve for that entire run.
- Check the evaporator coil if you can access it. A coil caked with years of pet hair and dust creates static pressure that reduces airflow through the entire system. Coil cleaning is separate from duct cleaning, but a competent duct technician will identify it and tell you.
Static pressure testing is how a professional quantifies this. If your system is fighting high static pressure, the answer is rarely “clean the ducts again.” It’s usually a combination of filter selection, return sizing, and coil condition. This is the difference between a technician who understands HVAC dynamics and someone running a vacuum through your registers. The best Duct Cleaning Laguna Niguel technicians will tell you when cleaning won’t solve your flow problem – you shouldn’t pay for a service that doesn’t address the cause.
Dust Returns Days After Cleaning: The Mechanical Causes
The most common complaint we hear after a cheap cleaning is “the dust came back in a week.” What the homeowner actually experienced was a superficial pass – the accessible trunk line got vacuumed, but the branch runs, return cavities, and coil weren’t touched. Or the cleaning was thorough, and the dust is entering through a mechanical breach.
Here’s what actually causes rapid dust reappearance:
- Return-side leaks. Your return ducts are under negative pressure. Any gap, crack, or disconnected joint pulls attic air, crawl space air, or wall-cavity air directly into the system. That air is unfiltered and full of whatever lives in those spaces. A return leak that opened up in a Laguna Niguel attic pulls in insulation fibers and decades of dust every time the blower runs.
- Supply-side leaks in unconditioned space. These don’t pull dust in, but they pressurize the attic or crawl space, which stirs up particulates that find their way back into the living space through gaps, can lights, and ceiling penetrations.
- A bypassed or badly fitted filter. If the filter doesn’t seal against its slot, air flows around it. You get the pressure drop benefit of a filter with none of the filtration. Check for visible gaps around the filter frame.
- Leaky duct boots at the register. The boot connects the duct to the register in your floor or ceiling. If the boot is loose, air and dust leak around it on every cycle.
The fix is duct sealing and repair, not repeated cleaning. Negative-pressure cleaning with professional equipment – the kind we run with Rotobrush and Nikro systems – can temporarily pull loose debris, but if the leak remains, the system re-contaminates quickly. That’s why we inspect and repair as part of the job. Dryer vent cleaning follows the same logic: clearing the lint is one step, but a vent run with a breached joint or a crushed section will clog again fast.
Signs a Previous Cleaning Used Inadequate Equipment
You can tell what kind of equipment was used on your ducts by looking at what’s left behind. We don’t mean a stray dust bunny. We mean the patterns that show whether negative pressure was actually achieved, or whether someone waved a brush around your registers with a glorified shop vac.
Here’s what to look for through the register opening:
- Visible dust on the interior surfaces you can reach. After a proper cleaning with a rotary brush and negative air machine, duct walls should feel smooth, not gritty. If you can wipe a finger inside the boot and come back with dust, the system wasn’t actually cleaned.
- Debris beyond the first foot of duct. A shop-vac approach can reach the first foot or two inside each register. The trunk line and far branch runs stay untouched. If you have a borescope or can remove a register and look deep, check whether the cleaned area abruptly ends.
- No evidence of access holes. Professional cleaning often requires cutting small access ports into the trunk line to insert rotary brushes and air whips. These are sealed with metal patches afterward. If the previous company never cut access, they never reached the main trunk line.
- You were told it took under an hour. A legitimate whole-house cleaning of a Laguna Niguel home takes several hours, including setup, access, cleaning, and reassembly. A one-hour blitz means surface-level work.
Proper negative air machines used in remediation work – the standard Abatement Technologies equipment is built for – pull the loosened debris out of the duct rather than just pushing it around. Rotobrush systems scrub the walls with powered brushes while that negative pressure evacuates. If your previous cleaning used a portable vacuum with a brush attachment, it removed what it could reach and left everything else in place. That’s not a failed cleaning; it’s an inadequate process.
How to Inspect Exposed Ductwork: A Durability Check
If your home in Laguna Niguel has accessible attic or crawl space ducting, you can perform a visual inspection without any special tools. This is a durability check, not a repair guide – if you find damage, the next step is a professional.
- Visually scan every visible run. Look for sagging sections, kinks, flattened spots, and places where the outer jacket is torn or missing. Flex duct should be supported every 4 to 5 feet; unsupported sections sag and restrict flow.
- Check the connections at every fitting. Duct tape and zip ties are not permanent connections. If you see duct tape (the gray fabric kind) peeling away from a wye, tee, or boot, that joint is leaking. Professional connections use mastic or UL-listed tape and mechanical fasteners.
- Feel for air movement around joints while the system runs. On the supply side, leaks blow air out. On the return side, they pull air in. A smoke pencil or a piece of tissue held near a joint will show movement. This is a diagnostic observation, not a repair.
- Look at the insulation condition. If the outer jacket is torn and insulation is exposed, moisture can wick into the insulation and the duct loses thermal performance. You may see condensation on the outside of the duct in summer.
- Check the boots at floor registers. Remove a floor register and look down. If the boot is loose, there will be a visible gap between the sheet metal boot and the flooring or duct connection. Air and dust leak through that gap every cycle.
Any of these findings means the system needs mechanical repair, not cleaning. A proper repair includes removing and replacing damaged flex sections, resealing joints with mastic, re-supporting sagging runs, and re-insulating where the jacket has failed. We do this work as part of our normal service, which means we can address what we find during cleaning rather than handing you a separate repair quote and a phone number for another company.
What Professional Duct Repair Actually Involves
Duct repair is not a single procedure. It’s a set of specific fixes matched to the failure found during diagnosis. Here’s how the process usually works when we find damage during a cleaning in Laguna Niguel.
- Diagnosis. We identify every problem: crushed sections, disconnected joints, torn liners, unsealed boots, failing supports. This is a material list, not a guess.
- Access. Some repairs require reaching ductwork in walls or between floors. We use the route that causes the least disruption to the home, but some drywall access is occasionally unavoidable. We’ll tell you before cutting anything.
- Removal of failed sections. Crushed or torn flex is cut out entirely. We don’t patch over a structural failure.
- Replacement with correct materials. We install new flex duct of the appropriate diameter and R-value for the location, using proper connectors, mastic, and mechanical fasteners. No duct tape.
- Joint sealing throughout the system. Every accessible joint on both supply and return sides gets sealed with mastic or UL-listed tape. This is where significant leakage gets eliminated.
- Re-supporting sagging runs. We add proper hangers and supports so the new sections don’t sag or kink again.
- Verification. After repair, we run the system and check airflow at every register, verify that leaks are sealed, and confirm the repaired sections are holding.
The goal is simple: when we leave, the ducts are both clean and mechanically sound. That’s the difference between a company that cleans around problems and one that fixes them. We use professional-grade tools for both halves of the job – Rotobrush for aggressive cleaning, Nikro equipment for negative-pressure evacuation, and the repair work is done with the same attention to mechanical detail as the cleaning.
Common Mistakes to Avoid
- Assuming recurring dust means you need more cleaning. Dust that returns within weeks is a leak or bypass problem, not a debris problem. Repeated cleaning without sealing the breach just spends money on the wrong fix.
- Paying for a cheap whole-house cleaning that takes under an hour. A full system cleaning requires time and equipment. If the price or the timeline seems too good, you’re getting surface work.
- Using duct tape for any duct repair. Duct tape fails within a year on ducts. It dries out, peels, and leaves residue. Proper sealing uses mastic or UL-listed tape, applied over a clean joint.
- Ignoring musty odors because you’re not seeing mold. The odor is the mold. By the time you see visible growth on registers or walls, the problem has been going on for a long time. Address odors immediately.
- Replacing the blower motor or adding a bigger HVAC unit without checking static pressure. Weak airflow is usually a duct problem, not an equipment capacity problem. A bigger unit on a restricted duct system makes the restriction worse, not better.
- Believing that a cleaning includes repair. Most cleaning companies clean and leave. If they don’t offer repair capability, damage they find just stays. Ask before you book whether the company can fix what they find.
- Shutting registers in unused rooms to “save energy.” This increases static pressure, makes the blower work harder, and can force air out through leaks. Keep registers open unless you’ve had the system properly balanced.
When to Call a Professional
You can diagnose a lot with a flashlight, a tissue, and some patience. But there are specific findings that should stop you from attempting anything further. If you find crushed or torn duct sections, a disconnected run, a return leaking from a crawl space, or standing water near any HVAC component, that’s professional territory. If the musty odor persists after a cleaning, the moisture source needs to be found and eliminated – that’s not a DIY project. If airflow is weak across the whole house and filter changes don’t help, you need a static pressure test and likely return-side work. If you’ve had a cleaning that didn’t solve the problem, stop paying for repeat cleanings and get a diagnosis instead. Duct Cleaning Laguna Niguel offers free estimates in Laguna Niguel – call (855) 525-6862 and describe what you’re seeing. We’ll tell you whether you’re looking at a cleaning, a repair, or both.
Frequently Asked Questions
Cleaning addresses accumulated debris; repair addresses structural failures. If dust is even across the house and airflow is normal, you likely need a cleaning. If one room is weak, one register is dramatically dustier, you hear rattling, or airflow is poor everywhere, you’re looking at mechanical damage that requires repair. A professional inspection will tell you which one you’re dealing with – we do both, so the diagnosis determines the fix, not what we happen to sell.
Dust that reappears within days or weeks after a cleaning means air is entering the system through a leak or bypass, not that the cleaning failed. Return-side leaks pull unfiltered attic or crawl space air into the ducts. Supply-side leaks pressurize unconditioned spaces and stir up dust. Loose boots, a badly sealed filter slot, or a disconnected joint all cause this. The fix is sealing and repair, not another cleaning. Call (855) 525-6862 and we’ll help you identify the breach – estimates are free.
A musty odor that survives cleaning means moisture is still present somewhere in the system. The most common sources are a clogged condensate drain, a cracked drain pan, sweating ducts in a hot attic, or a return leak pulling humid air from a crawl space. Cleaning removes what’s feeding the odor, but if the water source remains, the problem regrows. The fix is finding and eliminating the moisture, then repairing or replacing any water-damaged duct sections.
Whole-house duct cleaning in Laguna Niguel typically ranges from about $350 to $800 for an average single-family home, depending on system size, number of returns, accessibility of the equipment, and how long it’s been since the last cleaning. Homes with multiple systems, extensive damage, or fully inaccessible attics will run higher. The written estimate sets the final price – we don’t charge per vent and we don’t use bait pricing. A flat price per system, agreed before work starts.
A professional should use rotary brush systems and negative air machines, not consumer-grade vacuums. Rotobrush systems mechanically scrub duct walls while a negative air machine (the standard in remediation work, like the units from Abatement Technologies) pulls loosened debris out of the system. Nikro equipment is similarly built for restoration professionals. If the company arrives with a portable vacuum and a brush attachment, they’re not equipped to clean the trunk lines and branch runs properly.
Yes. If we find crushed flex, disconnected joints, torn liners, or unsealed boots during a cleaning, we can repair them in the same visit. That’s a differentiator for us – most cleaning companies clean around damage and leave it. We carry the materials and do the mechanical work so you’re not scheduling a second appointment with a different contractor. Call (855) 525-6862 to describe your symptoms and we’ll tell you what’s involved.
The Bottom Line
Air duct problems in Laguna Niguel homes rarely announce themselves clearly. Dust, weak airflow, and persistent odors all look like they need a cleaning, but many of them are mechanical failures that cleaning won’t touch. The skill is in the diagnosis: knowing the difference between a dirty duct and a damaged one, between one-time debris and ongoing moisture, between a restricted filter and an undersized return. That’s what separates a surface-level service from a real fix. If your symptoms came back after a previous cleaning, stop repeating the same step. Get a proper diagnosis, find the actual cause, and fix it once. Whether it’s a cleaning, a repair, or both, the solution starts with knowing what’s actually wrong. Call (855) 525-6862 for a free estimate. We answer 24/7. Fast dispatch from 7am to 7pm, Sunday through Friday.
Written by the team at Duct Cleaning Laguna Niguel, serving Laguna Niguel since 2011.
See the difference
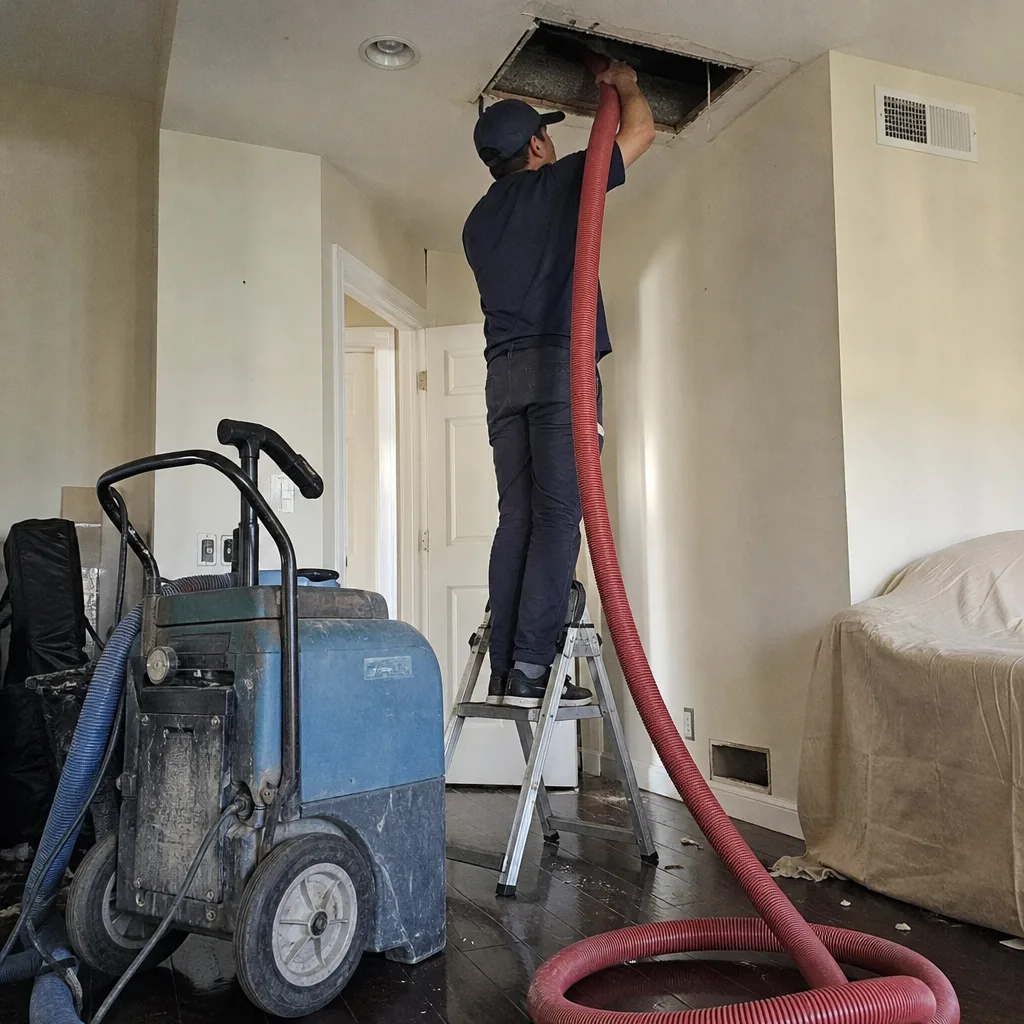 Before
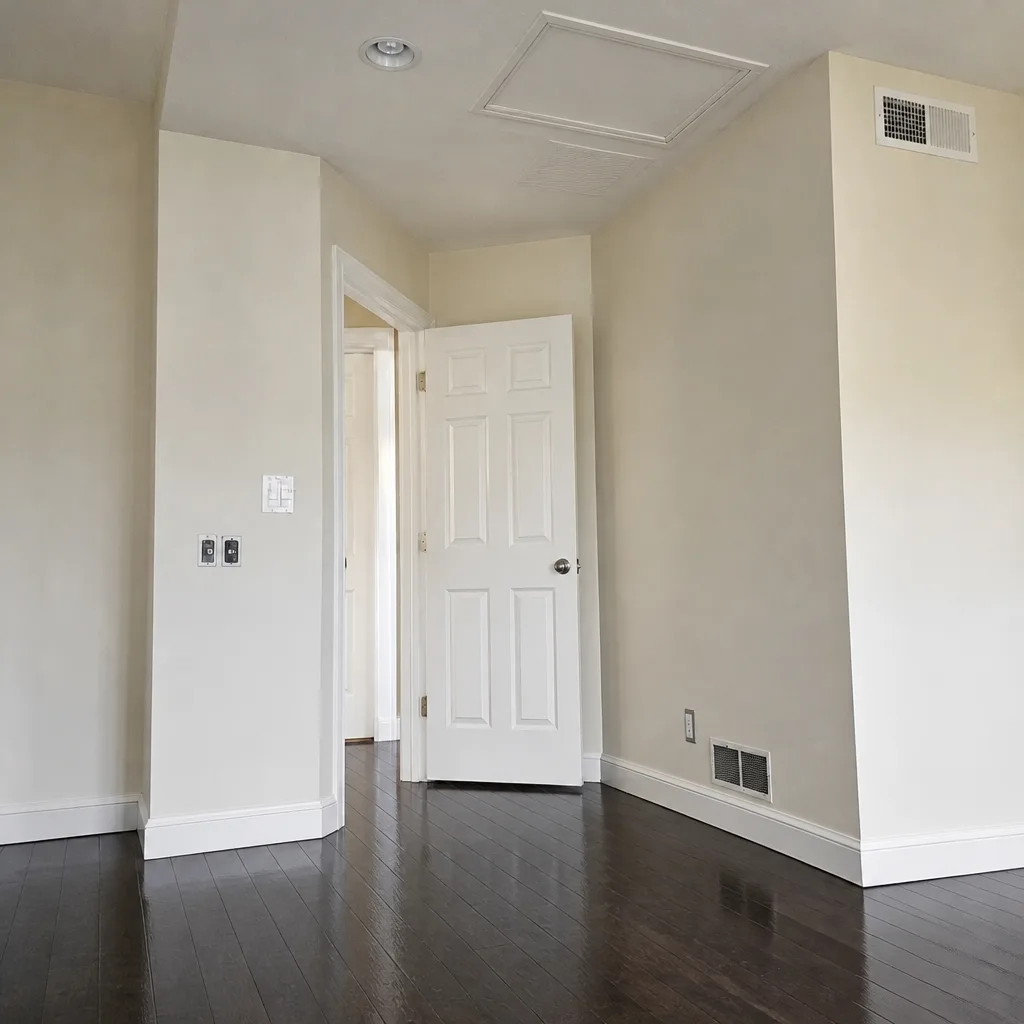 After
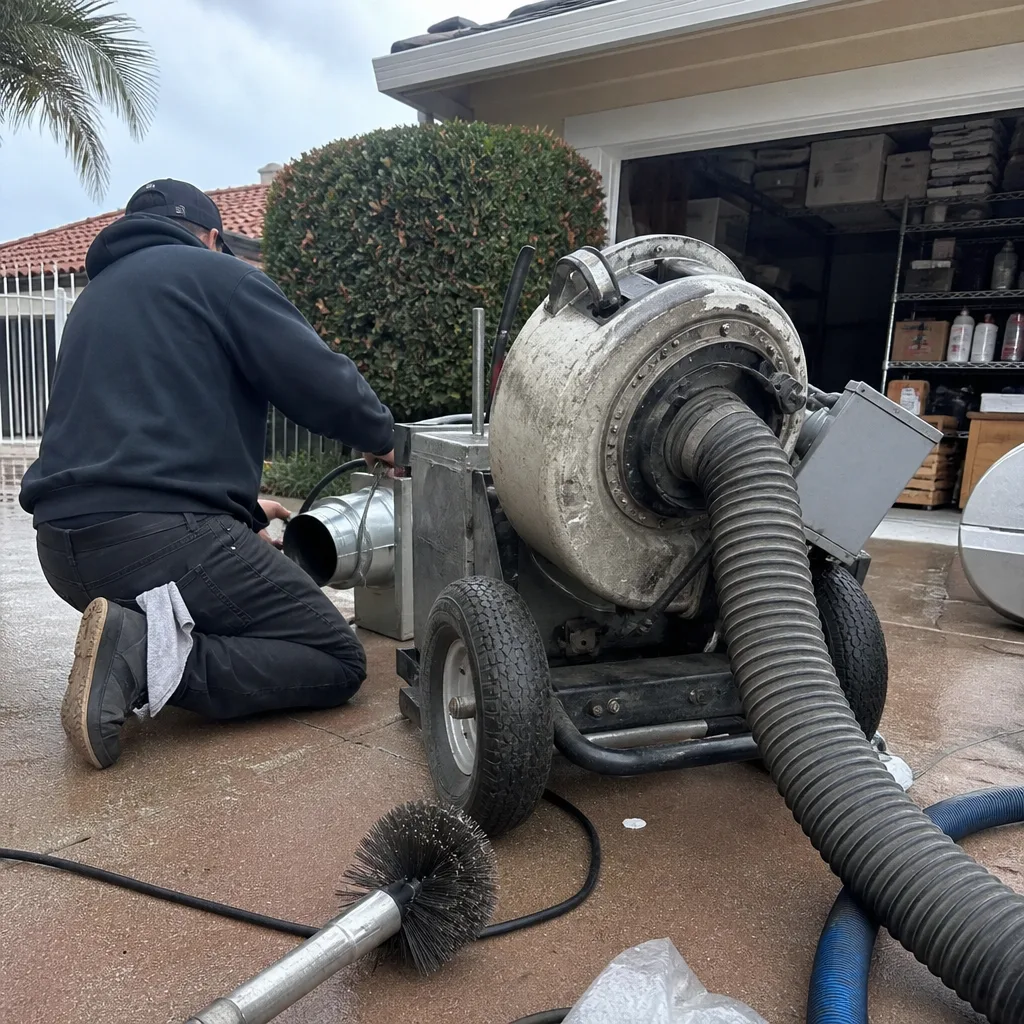 Before
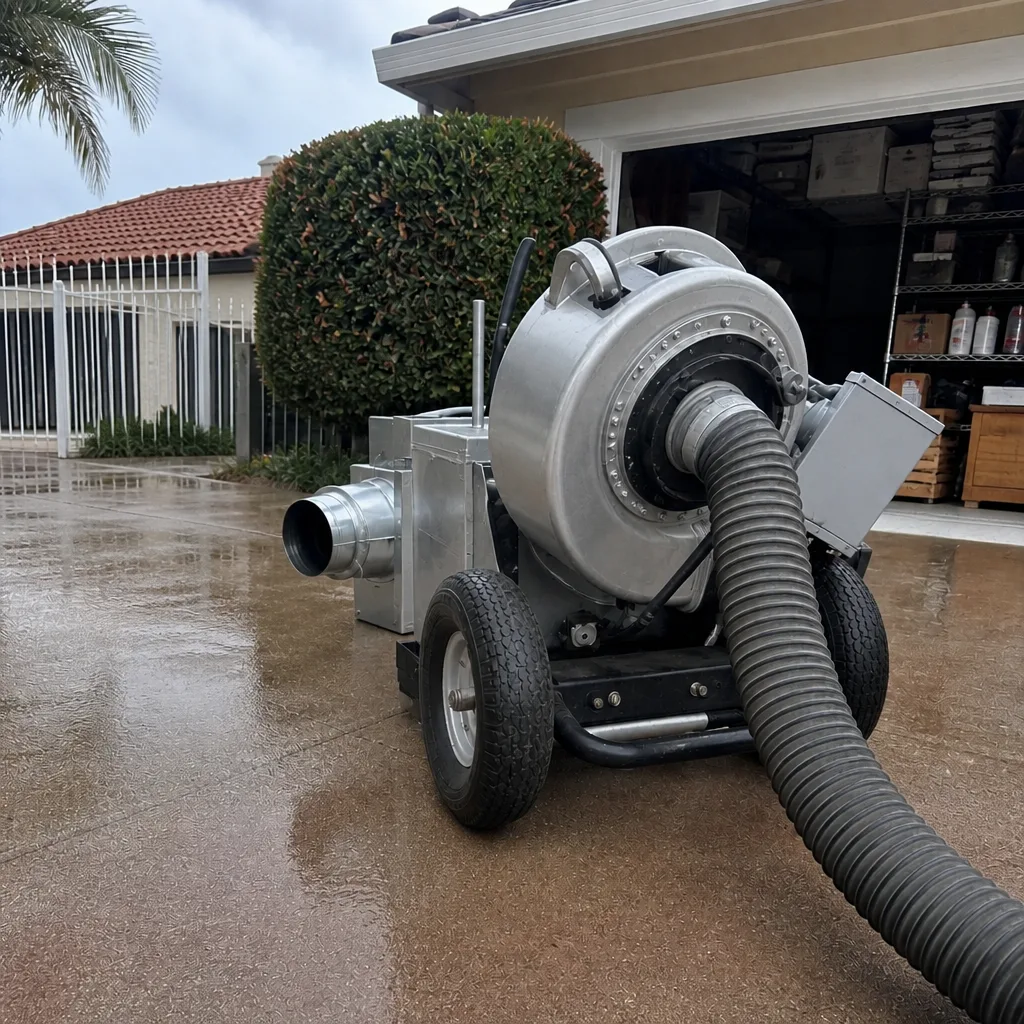 After
 Before
 After